Project 3: Subdivision + Texture
© Jorg PetersPoints: 65 (+ 5 BONUS)
Resources
- Texturing tutorial
- 3D modelers/viewers/editors Blender or MeshLab or meshconv
- Image editors, for example GIMP to convert formats.
- your Project 2 (code base)
- hints.
- Work with webGPU or OpenGL
Set up
Points: 0
- Use Perspective projection, set the field of view angle to be 45 degree, near plane to be 0.1 and far plane to be 100.
- Camera movements from Project 2: Use ← and → keys move the camera along the blue circle parallel to the equator. ↑ and ↓ keys rotate the camera along the red circle orthogonal to the equator. Point the camera always to the origin. Choose a good "up" direction.
- The r key resets the program to its startup state (displays x-y plane, clear rotations, etc.).
Task 1: Display face net
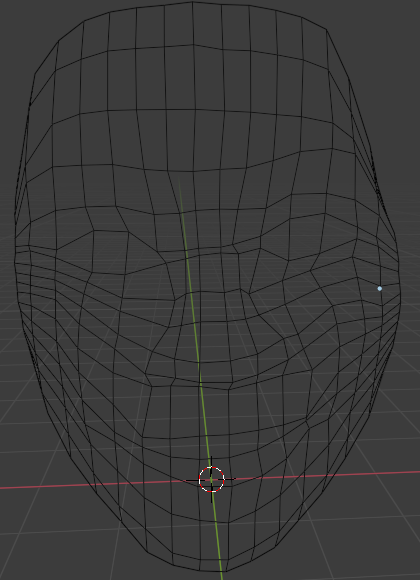
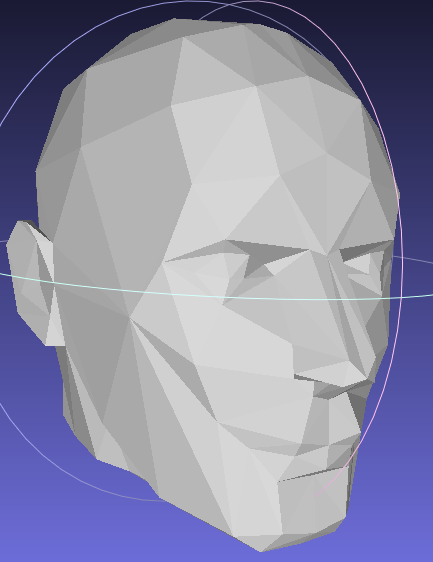
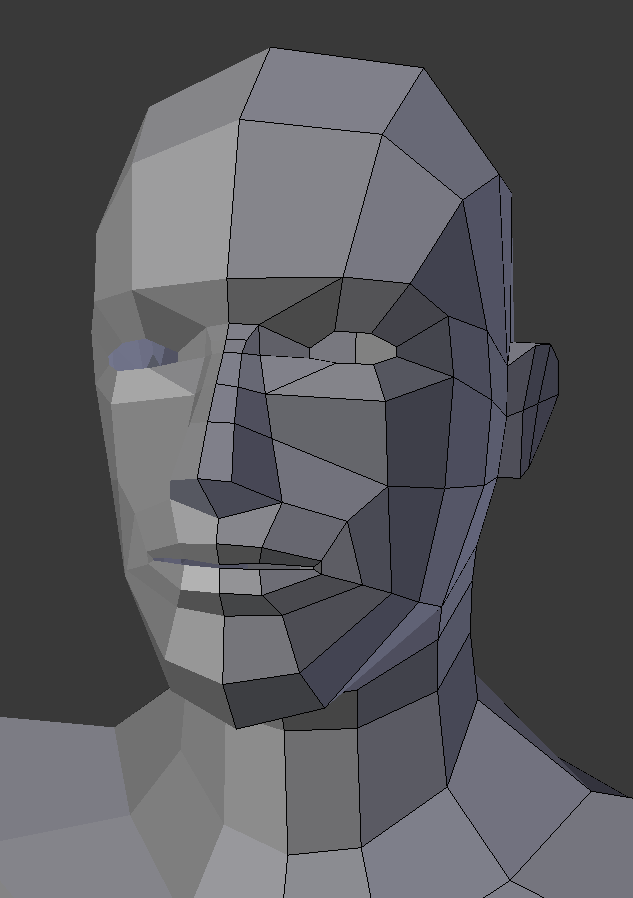
Points: 12+3
Task 2: Add a texture
Points: 0+12+3
- Take a photo of your face
- Map the photo onto the mesh facets. Flattening may be useful.
- The F key toggles show/hide of the facetted (Frankenstein) head with texture
Task3: Smooth Surface
Points: 40
 Choose one of: Catmull-Clark subdivision, Doo-Sabin subdivision,
Loop subdivision,
quadratic-attraction subdivision
,
4-3 subdivision
,
polyhedral net splines
,
Choose one of: Catmull-Clark subdivision, Doo-Sabin subdivision,
Loop subdivision,
quadratic-attraction subdivision
,
4-3 subdivision
,
polyhedral net splines
,
The P key toggles show/hide of the smoothly rendered head ( = with subdivision level at least 2)
The u key toggles show/hide of the texture.
Bonus
Points: 5